Amana Smart Thermostat Installation: A Comprehensive Guide
Navigating the installation process requires careful attention to wiring‚ compatibility‚ and network setup‚ ensuring optimal performance and energy savings with your new device․
Understanding Your Amana Smart Thermostat
Your Amana Smart Thermostat represents a significant upgrade to your home’s climate control‚ offering features beyond traditional thermostats․ It learns your habits‚ analyzes temperature preferences‚ and adapts to optimize energy usage‚ potentially lowering utility bills․ This “smart” functionality relies on behavioral algorithms‚ constantly examining your routines to predict and adjust settings proactively․
Key benefits include remote control via a smartphone app‚ allowing adjustments from anywhere with an internet connection․ Integration with smart home ecosystems like Alexa and Google Assistant provides voice control capabilities․ Understanding these features is crucial before installation‚ as proper setup maximizes their effectiveness․ The thermostat’s ability to connect to other appliances‚ such as dehumidifiers‚ further enhances its versatility and control over your home environment․
Unboxing and Component Check
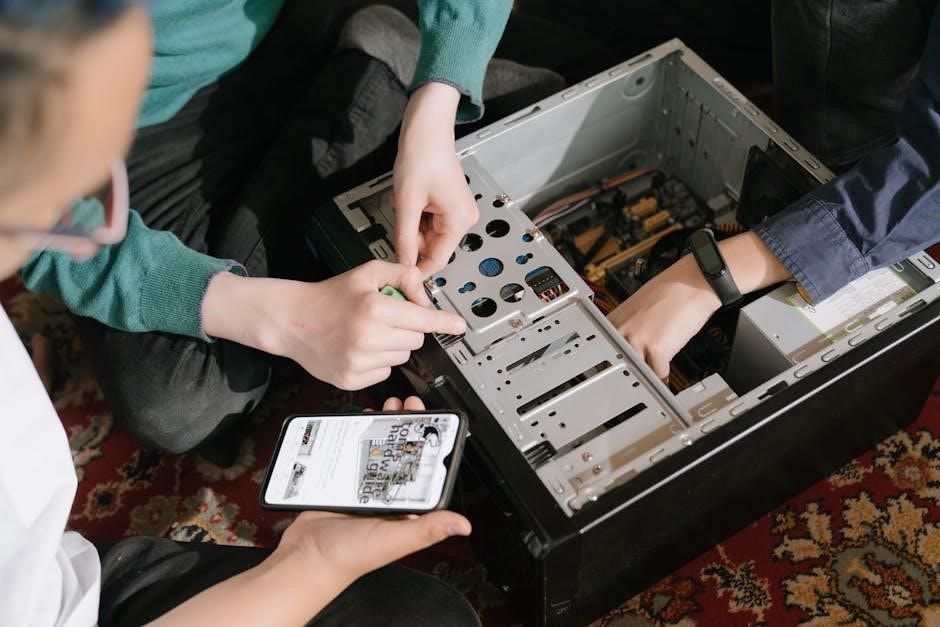
Carefully unpack the Amana Smart Thermostat box and verify all components are present․ You should find the thermostat display unit‚ the base plate for wall mounting‚ mounting screws and anchors‚ wire labels for identification during installation‚ and the comprehensive installation manual․ A quick visual inspection of each component is vital; look for any signs of physical damage incurred during shipping․
Ensure the thermostat display screen is intact and free from cracks․ Confirm the base plate is undamaged and the screws are appropriately sized for your wall type․ The wire labels are essential for a successful installation‚ preventing incorrect wiring․ Retain the packaging and manual for potential warranty claims or future reference․ Missing components should be reported to the retailer immediately before proceeding with the installation process․
Safety Precautions Before Installation
Prioritizing safety is paramount before commencing any electrical work․ Always disconnect power to your HVAC system at the breaker box to avoid electrical shock․ Confirm the power is off using a non-contact voltage tester before touching any wires․ If you are uncomfortable working with electrical wiring‚ consult a qualified HVAC technician․
Wear appropriate safety glasses to protect your eyes from debris․ Be mindful of potential hazards like sharp edges on the wall or within the existing thermostat setup․ Never work with wet hands or in a damp environment․ Properly dispose of the old thermostat’s batteries according to local regulations․ Following these precautions will ensure a safe and successful Amana Smart Thermostat installation‚ minimizing risks and potential harm․
Preparation for Installation
Thoroughly assess your current system‚ identify wiring configurations‚ and verify compatibility before beginning the installation process for a seamless experience․
Identifying Your Existing Thermostat Wiring
Before disconnecting your old thermostat‚ carefully document the existing wiring configuration․ This is arguably the most crucial step for a successful Amana smart thermostat installation․ Take a clear‚ well-lit photograph of the wiring connections as they currently are․ Note the color of each wire and the terminal it’s connected to – typically labeled with letters like R‚ W‚ Y‚ G‚ C‚ and others․
Understanding these labels is vital․ ‘R’ usually signifies power‚ ‘W’ heat‚ ‘Y’ cooling‚ ‘G’ the fan‚ and ‘C’ the common wire (often blue‚ and essential for many smart thermostats)․ If you lack a ‘C’ wire‚ you might need a C-wire adapter‚ which some Amana models include or offer separately․ Incorrect wiring can damage your HVAC system or the thermostat itself‚ so double-check your documentation and consult the Amana installation manual for specific guidance related to your model․
If you are unsure about any aspect of the wiring‚ it’s always best to consult a qualified HVAC technician․
Turning Off Power to Your HVAC System
Safety is paramount during Amana smart thermostat installation․ Before you even think about touching any wires‚ completely disconnect power to your heating‚ ventilation‚ and air conditioning (HVAC) system․ Locate the circuit breaker that controls your HVAC unit in your electrical panel․ It’s usually labeled‚ but if not‚ you may need to test breakers individually‚ observing your HVAC system to see which one shuts it down․
Once identified‚ flip the breaker to the “OFF” position․ To further ensure safety‚ confirm the power is off using a non-contact voltage tester on the wires at your existing thermostat․ Never assume the breaker is correctly labeled or that turning it off is sufficient; always verify with a tester․ This prevents electrical shock and potential damage to your equipment․
Remember to leave the power off throughout the entire installation process․
Compatibility Check: HVAC System Requirements
Ensuring compatibility is crucial before installing your Amana smart thermostat․ Most systems are compatible‚ but certain configurations require verification․ The Amana thermostat generally supports standard 24V heating and cooling systems‚ including furnaces‚ heat pumps‚ and air conditioners․ However‚ systems with high-voltage wiring (110V or 220V) or proprietary communication protocols are typically not compatible․
Check for a “C-wire” (common wire)․ Many smart thermostats require a C-wire to provide continuous power․ If your existing thermostat lacks a C-wire‚ you may need to install one‚ potentially requiring professional assistance․ Verify your system doesn’t utilize line voltage thermostats‚ as these are incompatible․ Consult Amana’s compatibility checker online or contact their support for definitive confirmation based on your specific HVAC setup․
Installation Process ー Step-by-Step
Begin by carefully removing your old thermostat‚ labeling each wire precisely‚ and then connecting them to the Amana base plate for seamless integration․
Removing Your Old Thermostat
Before disconnecting any wires‚ it’s absolutely crucial to document the existing wiring configuration․ Take a clear‚ well-lit photograph of the current thermostat’s wiring connections – this will serve as an invaluable reference during the installation of your Amana Smart Thermostat․ Carefully remove the thermostat cover‚ often by gently prying it away from the base plate․
Once the cover is off‚ you’ll see the wires connected to terminals․ Label each wire before disconnecting it‚ using the provided wire labels that came with your Amana thermostat kit․ Match the labels to the terminal designations (e․g․‚ R‚ W‚ G‚ Y‚ C)․ Disconnect each wire individually‚ ensuring it doesn’t slip back into the wall․
Finally‚ unscrew the base plate from the wall․ If there’s any wall anchor residue‚ remove it to ensure a flush mount for the new Amana thermostat base plate․ Remember safety first – power must be OFF before starting this process!
Labeling the Wires – Crucial for Correct Connection
Accurate wire labeling is arguably the most important step in a successful Amana Smart Thermostat installation․ The provided wire labels directly correspond to the terminal designations on both your old and new thermostats․ Carefully attach a label to each wire immediately after disconnecting it from the old thermostat․ Don’t rely on memory; a misplaced wire can cause significant issues‚ including system malfunction or damage․
Common labels include ‘R’ for power‚ ‘W’ for heating‚ ‘G’ for the fan‚ ‘Y’ for cooling‚ and ‘C’ for the common wire (essential for consistent power to the smart thermostat)․ If you encounter wires without labels on the old thermostat‚ consult a qualified HVAC technician before proceeding․
Double-check that each label securely adheres to the wire and accurately reflects its original terminal connection․ This meticulous step prevents errors during the wiring phase and ensures proper system operation․
Connecting the Wires to the Amana Smart Thermostat Base
With the base plate securely mounted and wires labeled‚ carefully connect each wire to its corresponding terminal on the Amana Smart Thermostat base․ Refer to the wiring diagram included in your installation manual and the labels you meticulously applied earlier․ Gently insert each wire into the appropriately designated terminal‚ ensuring it’s firmly seated but not forced․
Confirm each connection matches the original wiring configuration of your old thermostat․ A common wire (‘C’) is often crucial for consistent power; verify its secure connection․ Avoid stripping the wires excessively‚ as exposed copper can cause shorts․
Once all wires are connected‚ gently tug on each one to confirm a secure hold․ A loose connection can lead to intermittent operation or system failure․
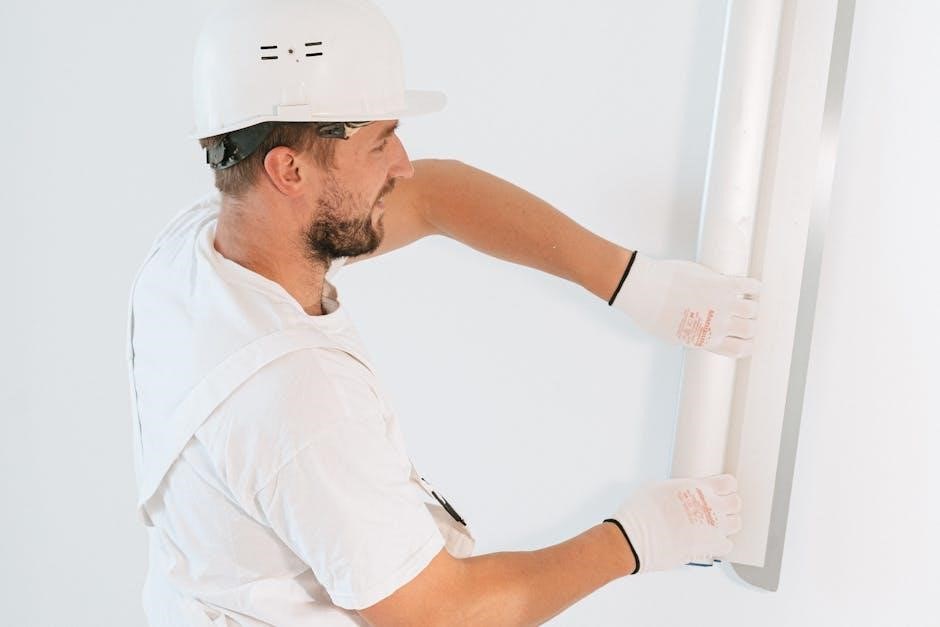
Mounting the Thermostat Base Plate
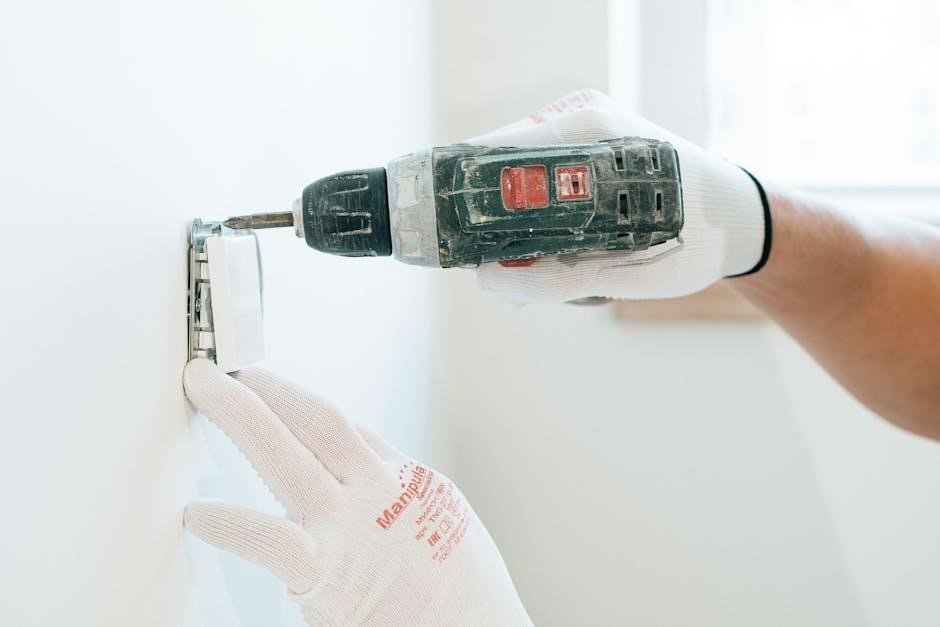
Before attaching the base plate‚ ensure the wall surface is clean‚ dry‚ and level․ Use the included screws and wall anchors‚ if necessary‚ to securely fasten the base plate to the wall․ Position the base plate so that it covers the existing thermostat’s mounting holes‚ minimizing wall damage․
A small level can be incredibly helpful to guarantee a straight installation‚ enhancing the thermostat’s aesthetic appeal․ Tighten the screws firmly‚ but avoid over-tightening‚ which could strip the screw holes or damage the wall․
Double-check that the base plate is stable and doesn’t wobble․ A secure base is essential for proper thermostat operation and prevents potential connection issues later on․

Configuring the Amana Smart Thermostat
Initial setup involves attaching the display‚ powering on the device‚ and seamlessly connecting it to your home’s Wi-Fi network for remote control․
Attaching the Thermostat Display
Carefully align the thermostat display with the mounted base plate‚ ensuring a snug and secure fit․ Gently press the display onto the base until you hear a distinct click‚ confirming a proper connection․ Avoid excessive force‚ as this could potentially damage the delicate components․ The display should sit flush against the base plate without any noticeable gaps or wobbling․
Before fully seating the display‚ double-check that all wiring connections are correctly positioned and not obstructed․ Incorrect wiring or pinched wires can lead to malfunction or damage․ Once the display is attached‚ visually inspect the connection to ensure it’s stable and secure․ A loose connection may cause intermittent operation or a complete failure to power on․ Refer to the detailed diagrams in the installation manual for precise alignment guidance․
Finally‚ a properly attached display is crucial for both functionality and aesthetic appeal‚ completing the installation process and preparing the thermostat for initial configuration․
Powering On and Initial Setup
After securely attaching the display‚ restore power to your HVAC system at the breaker box․ The Amana Smart Thermostat should power on automatically‚ displaying the welcome screen․ If it doesn’t‚ re-check all wiring connections and ensure the display is firmly seated on the base plate․ Allow a few moments for the thermostat to boot up and initialize its internal systems․
The initial setup will guide you through essential configurations‚ including language selection‚ date and time settings‚ and HVAC system type․ Follow the on-screen prompts carefully‚ providing accurate information to optimize performance․ You’ll likely be asked to identify your heating and cooling system – forced air‚ heat pump‚ or radiant – to ensure correct operation․
During this phase‚ the thermostat may perform a brief self-test to verify functionality․ This is a normal part of the startup process․ Accurate initial setup is vital for seamless integration and optimal control of your home’s climate․

Connecting to Your Home Wi-Fi Network
To unlock the full potential of your Amana Smart Thermostat‚ connecting it to your home Wi-Fi network is crucial․ From the thermostat’s display‚ navigate to the network settings menu – typically found within the settings or configuration options․ The thermostat will scan for available Wi-Fi networks in your area․
Select your network from the list and enter your Wi-Fi password when prompted․ Ensure you enter the password correctly‚ as incorrect credentials will prevent connection; The thermostat will attempt to establish a connection‚ displaying a progress indicator․ A successful connection will be confirmed with a message on the screen․
Once connected‚ the thermostat will synchronize with the Amana cloud services‚ enabling remote control and access to advanced features via the mobile app․ This connectivity also allows for automatic software updates‚ ensuring your thermostat remains up-to-date․
Amana Smart Thermostat Features & Settings
Explore scheduling‚ geofencing‚ energy reports‚ and smart home integrations like Alexa or Google Assistant for personalized comfort and efficient energy management․
Setting Schedules and Geofencing
Amana smart thermostats excel at automating your home’s temperature based on your daily routines․ Creating customized schedules allows you to pre-set temperature adjustments for different times of the day‚ optimizing comfort and minimizing energy waste when you’re asleep or away․ The intuitive interface simplifies programming‚ letting you define unique settings for weekdays and weekends․
Geofencing takes automation a step further by utilizing your smartphone’s location․ As you approach or leave your home‚ the thermostat automatically adjusts the temperature accordingly․ This feature ensures a comfortable environment upon your arrival and conserves energy while you’re gone‚ offering a seamless and responsive climate control experience․ Setting up geofencing involves defining a virtual boundary around your home within the thermostat’s app‚ triggering temperature changes based on your location․
Understanding Energy Usage Reports
Amana smart thermostats provide detailed energy usage reports‚ empowering you to monitor and optimize your heating and cooling consumption․ These reports typically display historical data in easy-to-understand graphs and charts‚ illustrating your energy usage patterns over days‚ weeks‚ or months․ Analyzing this information reveals opportunities to identify energy-wasting habits and adjust your thermostat settings accordingly․
Key metrics often included are total energy used‚ average daily temperature‚ and comparisons to previous periods․ Some models even offer personalized insights and recommendations for reducing energy consumption‚ such as suggesting optimal temperature settings or identifying times when energy is being wasted․ Accessing these reports is usually done through the thermostat’s mobile app or web portal‚ providing convenient access to your energy data from anywhere․
Integrating with Smart Home Platforms (e․g․‚ Alexa‚ Google Assistant)
Amana smart thermostats seamlessly integrate with popular smart home platforms like Amazon Alexa and Google Assistant‚ enhancing convenience and control․ This integration allows you to manage your home’s temperature using voice commands – simply ask Alexa or Google to adjust the thermostat to your desired setting․ Beyond voice control‚ integration enables the creation of automated routines and scenes․
For example‚ you can set up a routine that automatically lowers the temperature when you leave home or adjusts it based on the time of day․ Linking your Amana thermostat to these platforms typically involves enabling a skill or action within the Alexa or Google Home app and following the on-screen instructions to connect your accounts․ This unlocks a new level of smart home automation and energy efficiency․
Troubleshooting Common Installation Issues
Addressing power‚ Wi-Fi‚ and temperature inaccuracies promptly ensures a smoothly functioning Amana smart thermostat‚ maximizing comfort and efficient home climate control․
Thermostat Not Powering On
If your Amana smart thermostat fails to power on after installation‚ begin by verifying the power supply to your HVAC system is active․ Double-check the circuit breaker hasn’t tripped and that the HVAC unit itself is receiving power․ Next‚ meticulously review the wiring connections at both the thermostat base and the HVAC system․ Ensure each wire is securely inserted into the correct terminal‚ referencing your wiring diagram․
A common issue is a loose connection or a wire not fully seated․ Confirm the ‘C-wire’ (common wire) is properly connected‚ as this is essential for providing continuous power to the thermostat․ If a C-wire isn’t present‚ consider installing one or using a C-wire adapter․ Also‚ inspect the thermostat’s battery compartment (if applicable) and replace the batteries with fresh ones․ Finally‚ if the problem persists‚ consult the Amana support website or contact a qualified HVAC technician for further assistance․
Wi-Fi Connection Problems
Experiencing difficulties connecting your Amana smart thermostat to your home Wi-Fi network? First‚ ensure your Wi-Fi router is functioning correctly and broadcasting a strong signal․ Verify you’re entering the correct Wi-Fi password during the setup process – capitalization matters! Move the thermostat closer to the router temporarily to rule out range issues․
Check if your router is compatible with the thermostat’s Wi-Fi standards (typically 2․4 GHz)․ Some routers have separate bands; ensure you’re connecting to the 2․4 GHz network․ Restart both your router and the thermostat․ If problems continue‚ try resetting the thermostat’s network settings and repeating the connection process․ Consult the Amana support website for specific troubleshooting steps related to your router model‚ or contact their support team for assistance․
Incorrect Temperature Readings
If your Amana smart thermostat displays inaccurate temperature readings‚ several factors could be at play․ First‚ confirm the thermostat isn’t directly exposed to sunlight‚ drafts‚ or heat sources like lamps‚ as these can skew the sensor readings․ Ensure proper airflow around the thermostat; obstructions can affect accuracy․
Calibrate the temperature within the thermostat’s settings menu – most smart thermostats allow for minor adjustments․ Verify the thermostat is level; an uneven installation can impact readings․ If the issue persists‚ check for nearby electronic devices that might cause interference․ A factory reset can sometimes resolve sensor calibration problems․ If none of these steps work‚ contact Amana support for further diagnosis and potential hardware assistance․
Advanced Settings and Maintenance
Regular upkeep‚ including filter reminders and software updates‚ maximizes your Amana thermostat’s efficiency and longevity‚ ensuring consistent comfort and optimal performance․
Filter Change Reminders
Your Amana Smart Thermostat proactively monitors your HVAC system’s runtime and intelligently estimates air filter condition‚ providing timely reminders when a replacement is needed․ Maintaining a clean air filter is crucial for optimal system performance‚ ensuring efficient airflow and preventing strain on the blower motor․
To configure filter change reminders‚ access the “Maintenance” section within the thermostat’s settings menu on the app or directly on the device․ You can customize the reminder frequency based on your filter type and usage patterns – typically every 1-3 months․ The thermostat will then display a notification on the screen and send an alert to your connected smartphone‚ prompting you to replace the filter․ Ignoring these reminders can lead to reduced airflow‚ increased energy consumption‚ and potentially‚ system malfunctions․ Regularly changing your filter contributes to improved indoor air quality and extends the lifespan of your HVAC equipment․
Software Updates and Firmware
Amana continuously improves your Smart Thermostat’s functionality and security through regular software and firmware updates․ These updates deliver new features‚ enhance performance‚ and address potential vulnerabilities․ The thermostat automatically checks for updates when connected to your home Wi-Fi network‚ typically during off-peak hours to minimize disruption․
You’ll receive a notification on the thermostat display and within the mobile app when an update is available․ It’s highly recommended to install these updates promptly to benefit from the latest improvements․ The update process is generally automatic and takes only a few minutes; however‚ avoid interrupting power to the thermostat during this time․ Keeping your thermostat’s software current ensures optimal compatibility with the Amana ecosystem and maximizes the benefits of your smart home investment․ Check the app periodically for manual update options if needed․
Factory Resetting the Thermostat
Occasionally‚ you might need to perform a factory reset on your Amana Smart Thermostat‚ typically when troubleshooting persistent issues or preparing the device for a new owner․ This process erases all personalized settings‚ schedules‚ and Wi-Fi configurations‚ returning the thermostat to its original factory state․
The procedure usually involves navigating to the “Settings” menu on the thermostat display‚ then selecting “Reset” or “Factory Reset․” You may be prompted to confirm your decision․ Be aware that a factory reset will require you to reconfigure the thermostat entirely‚ including reconnecting to your Wi-Fi network and setting up your desired schedules․ Consult the full Amana installation manual or support website for precise‚ model-specific instructions before initiating a reset‚ as the steps can vary slightly․