Welcome to the world of the Minolta XG-M! This user manual will guide you through the ins and outs of this classic 35mm SLR camera. Discover its features, functions, and how to achieve stunning photographs. Get ready to unleash your creativity!
Overview of the Camera
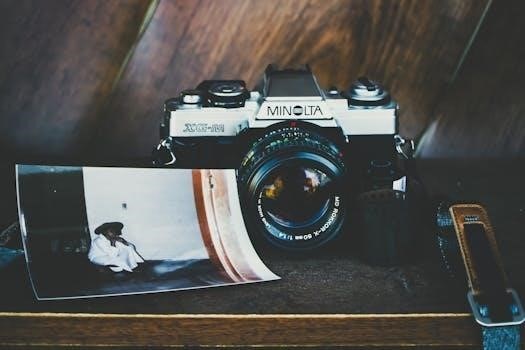
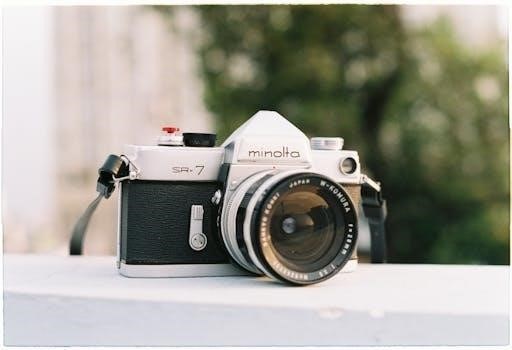
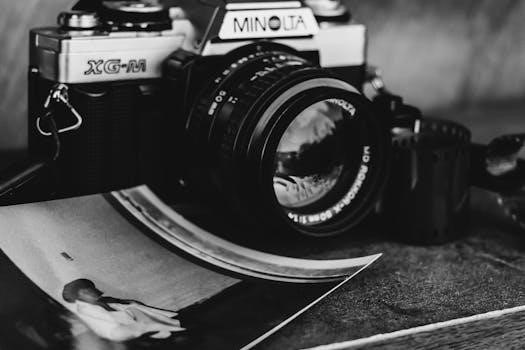
The Minolta XG-M is a 35mm single-lens reflex (SLR) film camera, renowned for its ease of use and reliable performance. Introduced in the early 1980s, it quickly became a favorite among both amateur and experienced photographers.
At its core, the XG-M offers aperture-priority automatic exposure, allowing photographers to control depth of field while the camera intelligently selects the appropriate shutter speed. This feature makes it particularly suitable for portraiture and landscape photography, where precise control over focus and background blur is crucial.
The camera body is constructed from durable materials, providing a solid and comfortable feel in the hand. Its ergonomic design includes well-placed controls, enabling intuitive operation and quick adjustments. The viewfinder offers a bright and clear view of the scene, facilitating accurate composition and focusing.
The XG-M is compatible with Minolta’s extensive range of MD-mount lenses, providing a wide array of options for different photographic styles and subjects; From wide-angle lenses for capturing expansive landscapes to telephoto lenses for bringing distant subjects closer, the XG-M can adapt to virtually any photographic challenge.
Furthermore, the XG-M incorporates a built-in light meter, assisting photographers in achieving proper exposure in various lighting conditions. Its simple and effective metering system contributes to the camera’s overall ease of use, making it an excellent choice for those new to film photography.
Camera Features and Functions
Explore the various features of your Minolta XG-M! This section details the camera’s key functions, including its shooting modes, self-timer, and exposure compensation. Learn how to use these features to enhance your photography and achieve desired results;
Setting the ISO
Understanding and correctly setting the ISO on your Minolta XG-M is crucial for proper exposure. ISO, or International Organization for Standardization, represents the film’s sensitivity to light. A lower ISO value (e.g., 100) indicates lower sensitivity, ideal for bright conditions, while a higher ISO (e.g., 400, 800, or even higher) signifies greater sensitivity, perfect for low-light situations.
To set the ISO on the Minolta XG-M, locate the ISO dial. Typically, this dial is found on the top of the camera, near the rewind knob. Lift or pull the outer ring of the dial to unlock it. Then, rotate the dial until the desired ISO value aligns with the indicator mark. The available ISO settings are usually printed around the dial.
Choosing the appropriate ISO depends on the available light and your desired effect. In bright sunlight, ISO 100 or 200 will generally suffice, producing images with fine grain and excellent detail. As light diminishes, increase the ISO to 400, 800, or even higher to maintain a proper exposure and avoid blurry images. Remember that higher ISO settings can introduce more grain or noise into your photographs.
Always consider the lighting conditions before you begin shooting. Adjust the ISO accordingly to ensure your images are properly exposed and retain the desired level of detail and clarity. Correct ISO setting is essential for achieving optimal image quality with your Minolta XG-M.
Shutter Speed and Aperture Priority Modes
The Minolta XG-M offers both shutter speed and aperture priority modes, providing creative control over your photographs. Understanding these modes is essential for achieving desired effects.
Aperture Priority (A) Mode⁚ In this mode, you select the aperture (f-stop), which controls the depth of field. A wider aperture (e.g., f/2.8) creates a shallow depth of field, blurring the background and isolating the subject. A smaller aperture (e.g., f/16) increases the depth of field, keeping both foreground and background sharp. The camera automatically selects the appropriate shutter speed for proper exposure. To use aperture priority, set the mode dial to “A” and adjust the aperture ring on the lens.
Shutter Speed Priority (S) Mode⁚ While the XG-M doesn’t have a dedicated “S” mode, you can effectively use it by setting the aperture manually and observing the suggested shutter speed in the viewfinder. The XG-M will recommend a shutter speed based on your aperture and the light meter reading. You would then manually set the shutter speed to the suggested value, or adjust slightly for creative effect.
Experiment with both aperture and shutter speed to understand their impact on your images. Use aperture priority for controlling depth of field and manually influencing the shutter speed for motion blur or freezing action. Mastering these modes unlocks the full potential of your Minolta XG-M.
Using the Light Meter
The Minolta XG-M features a built-in light meter to help you achieve proper exposure. Understanding how to use it is crucial for well-lit photos. This section will guide you through the process of interpreting light meter readings.
Understanding Exposure Readings
The Minolta XG-M’s light meter provides vital information for achieving correct exposure in your photographs. The meter displays readings in the viewfinder, typically using a needle or LED indicators. Understanding these readings is paramount to capturing well-balanced images, neither underexposed (too dark) nor overexposed (too bright).
When the meter needle points to the center or the LED indicator shows a balanced reading (often a “+/-” symbol), it indicates that the camera settings will likely result in a properly exposed image. However, this is just a starting point. You must also consider the scene’s overall brightness and contrast.
If the needle deflects towards the “+” side, it signifies overexposure. To correct this, you need to reduce the amount of light entering the camera. This can be achieved by increasing the shutter speed (making the exposure shorter) or decreasing the aperture (using a higher f-number, narrowing the lens opening).
Conversely, if the needle deflects towards the “-” side, it indicates underexposure. In this case, you need to increase the amount of light entering the camera. This can be achieved by decreasing the shutter speed (making the exposure longer) or increasing the aperture (using a lower f-number, widening the lens opening).
Remember that the light meter is just a tool. It’s essential to develop your own understanding of exposure and learn to interpret the meter’s readings in the context of the scene you are photographing. Experimentation and practice are key to mastering exposure control with the Minolta XG-M.

Film Loading and Unloading
Properly loading and unloading film is crucial for avoiding ruined shots. This section provides a clear guide on how to insert a new film roll into your Minolta XG-M and safely remove it after shooting, ensuring your memories are preserved.
Step-by-Step Instructions
Loading Film⁚
- Open the camera back by gently pulling up on the rewind knob.
- Insert a new roll of 35mm film into the film chamber.
- Pull the film leader across the camera body and insert the tip into one of the take-up spool slots.
- Advance the film using the film advance lever, ensuring the sprocket teeth engage with the film perforations.
- Close the camera back.
- Continue advancing the film until the frame counter displays “1.” You’re now ready to shoot!
Unloading Film⁚
- After shooting your last frame, rewind the film back into the canister using the rewind knob. Flip out the rewind crank.
- Ensure the film is completely rewound. You’ll feel a sudden release of tension when it disengages from the take-up spool.
- Open the camera back.
- Gently remove the film canister.
- Take your exposed film to a photo lab for processing.
Important Note⁚ Avoid loading or unloading film in direct sunlight to prevent fogging.
Troubleshooting Common Issues
Encountering problems with your Minolta XG-M? Here are some solutions to common issues⁚
Problem⁚ Camera won’t fire.
- Solution⁚ Check the battery. A weak or dead battery is a frequent culprit. Replace with a fresh battery.
- Solution⁚ Ensure the camera is not in the “lock” position.
- Solution⁚ Verify the film is loaded correctly and the frame counter is advancing.
Problem⁚ Overexposed or underexposed images.
- Solution⁚ Double-check your ISO setting.
- Solution⁚ Clean the battery contacts.
- Solution⁚ Ensure that you are not covering the light meter sensor.
- Solution⁚ If using aperture priority mode, try adjusting the aperture.
Problem⁚ Film advance lever is stuck.
- Solution⁚ Make sure the film is loaded correctly.
- Solution⁚ Do not try to force it.
Problem⁚ Light leaks.
- Solution⁚ Inspect the light seals around the camera back. If they are deteriorated, replace them.
If these solutions don’t resolve the issue, consult a qualified camera technician.